Writing plugins for Atlassian products is pretty straight forward (once you get passed the insanely out-of-date documentation). But using Java can be overly verbose and less flexible than some other more modern languages. There are examples of writing plugins using Scala and JRuby out there but documentation for using Groovy seems to be a bit of a black hole. Since Groovy is my JVM language of choice, I have decided to document the process and give a simple example.
Getting started
Before you start you need to make sure that you have installed the Atlassian SDK. Once you have that installed we can create a new JIRA plugin. These steps should work fine for RefApp plugins as well as Confluence.
Create a project
- Run
atlas-create-jira-pluginfrom the command line- groupId: rocks.stevegood.jira
- artifactId: my-groovy-plugin
- version: 1.0.0-SNAPSHOT
- package: rocks.stevegood.jira
- Y: y
Modify your pom.xml
Add the groovy-all dependency to your plugin
...
<dependency>
    <groupId>org.codehaus.groovy</groupId>
    <artifactId>groovy-all</artifactId>
    <version>${groovy.version}</version>
    <scope>compile</scope>
</dependency>
...
Add the GMavenPlus plugin to your plugins block
...
<plugin>
    <groupId>org.codehaus.gmavenplus</groupId>
    <artifactId>gmavenplus-plugin</artifactId>
    <version>1.5</version>
    <executions>
        <execution>
            <goals>
                <goal>execute</goal>
                <goal>compile</goal>
                <goal>testCompile</goal>
            </goals>
        </execution>
    </executions>
    <dependencies>
        <dependency>
            <groupId>org.codehaus.groovy</groupId>
            <artifactId>groovy-all</artifactId>
            <version>${groovy.version}</version>
            <scope>runtime</scope>
        </dependency>
    </dependencies>
</plugin>
...
Update the instructions for the maven-jira-plugin plugin
...
<instructions>
  ...
  <Import-Package>
    ...
    *;version="0";resolution:="optional",
    ...
  </Import-Package>

  ...

  <DynamicImport-Package>
    *
  </DynamicImport-Package>
  ...
</instructions>
...
Add the groovy.version property to the properties block
...
<groovy.version>2.4.7</groovy.version>
...
Update your project structure
- Rename
src/main/javatosrc/main/groovy - Rename
src/test/javatosrc/test/groovy - Rename all
*.javafiles to*.groovy - Fix the MyPluginComponentImpl.groovy file (around line 11) so that it compiles
- Change
@ExportAsService({MyPluginComponent.class})to@ExportAsService([MyPluginComponent])
- Change
Clean up code and run the plugin
You can now go through your files are remove things like semicolons, parenthesis, and public scope declarations. At this point you should be able to start your plugin with atlas-run. If it doesn’t work, verify that you have made all of the changes listed above and try again. You might also try cleaning your project first to avoid lingering artifacts with atlas-clean. You can also checkout the example source code if you get stuck.
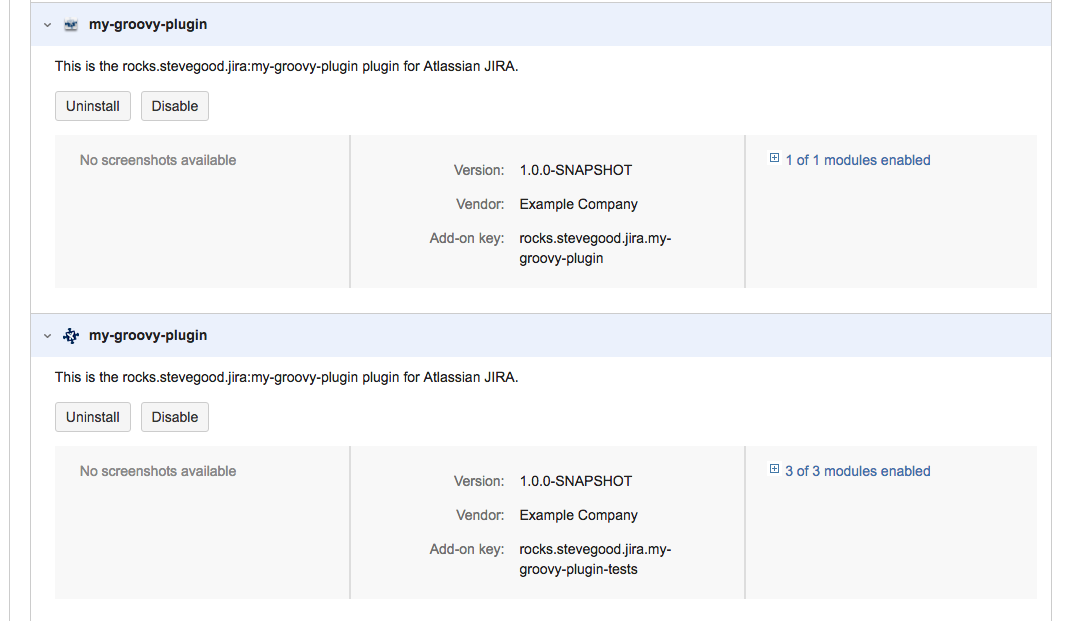
Once you have JIRA running you should be able to see that your plugin has loaded from the Manage Addons screen. You should see something similar to the this: